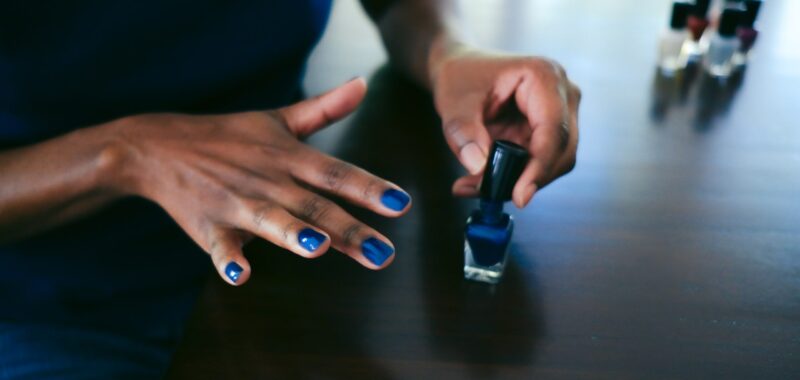
Now it’s time to prep your nails. You might even want to invest in a manicure kit to simplify things. “A perfect manicure is number one,” celebrity nail artist Tom Bachik, whose clients include Selena Gomez, Heidi Klum, and Jennifer Lopez, tells Glamour. “I always use my favorite Tweezerman tools, the Tweezerman x Tom Bachik Ultimate Nail Care Set, to create a meticulous manicure and foundation for enhancements before applying color.”
Once your tools are all sorted, clip nails first, if necessary, then file them to your desired shape, says Juli Russell, DIY nail expert for Sally Beauty. If you’re not sure which nail shape you prefer, check out our guide here.
Be sure to file gently, moving in one direction to get your tips square, round, or somewhere in between. Have thin nails? Try this tip we got from celebrity manicurist Deborah Lippmann: Hold the file flush to your nail and tilt it so you file from slightly underneath.
“This allows you to see exactly what you’re doing and helps protect against overfiling,” Lippman says. Finally, buff the tops and sides of your nails lightly with a nail buffer—not your emery board—to create a smooth surface. “If you don’t buff, the natural oils in your nails can build up, leaving manicure-ruining residue on them,” says Rita Remark, Essie global lead educator. “Buffing your nails is kind of like brushing your teeth—it’s brightening, it makes nails look more youthful, and it gets rid of ridges.”